

Why Some WordPress Sites Still Show Errors
Even after installing an SSL certificate, some websites continue to display warnings or load incorrectly.
This usually happens when parts of the setup are incomplete.
Typical issues include:
- resources still loading over HTTP
- missing redirects
- inconsistent behavior across pages
These problems are not always visible at first, but they affect how browsers interpret your site.
👉 The good news? You don’t need to touch code, fight with .htaccess, or spend hours debugging.
With the right SSL plugin, you can switch WordPress fully to HTTPS, clean up mixed content, and add missing security headers — all in a few clicks.
What You Can Do with This Plugin
Instead of handling multiple configurations manually, you can manage everything from your dashboard.
With this tool, you can:
- switch your site to HTTPS
- redirect all traffic to the secure version
- detect outdated HTTP links
- fix mixed content safely
- apply browser-level security rules
Using a WordPress security headers plugin simplifies these steps and reduces the risk of configuration errors.
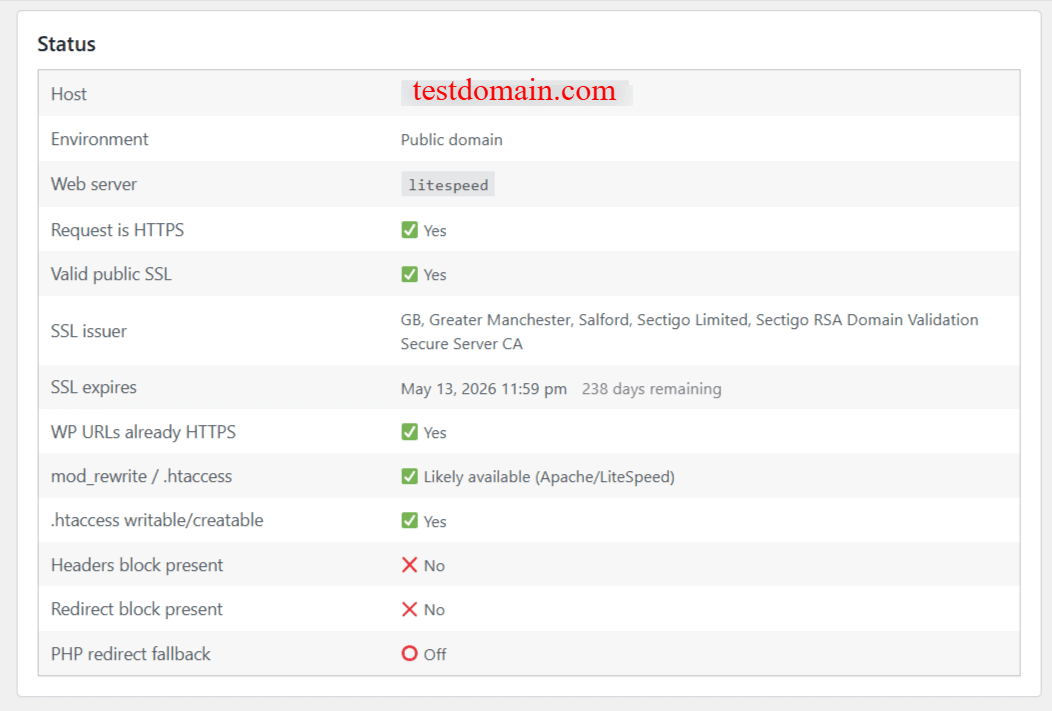
Step-by-Step: Using the Plugin
The following steps show how to configure your site using the plugin interface.
Step 1 — Activate HTTPS
Open the plugin settings and locate the SSL option.
- Click “Activate SSL”
- Your WordPress URLs are updated automatically
This ensures your site runs entirely on HTTPS.
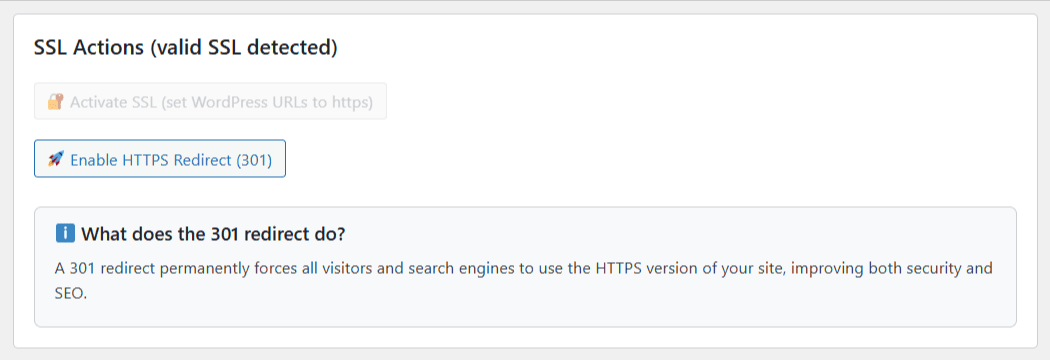
Step 2 — Enable Redirects
To prevent access through HTTP:
- Enable the HTTP → HTTPS redirect option
- The correct rules are applied automatically
All visitors are redirected to the secure version of your site.
Step 3 — Fix Mixed Content
Some elements may still use outdated links.
To correct this:
- Run the Mixed Content Scanner
- Review detected items
- Click “Fix Mixed Content”
The plugin updates links safely, including data stored in your database.

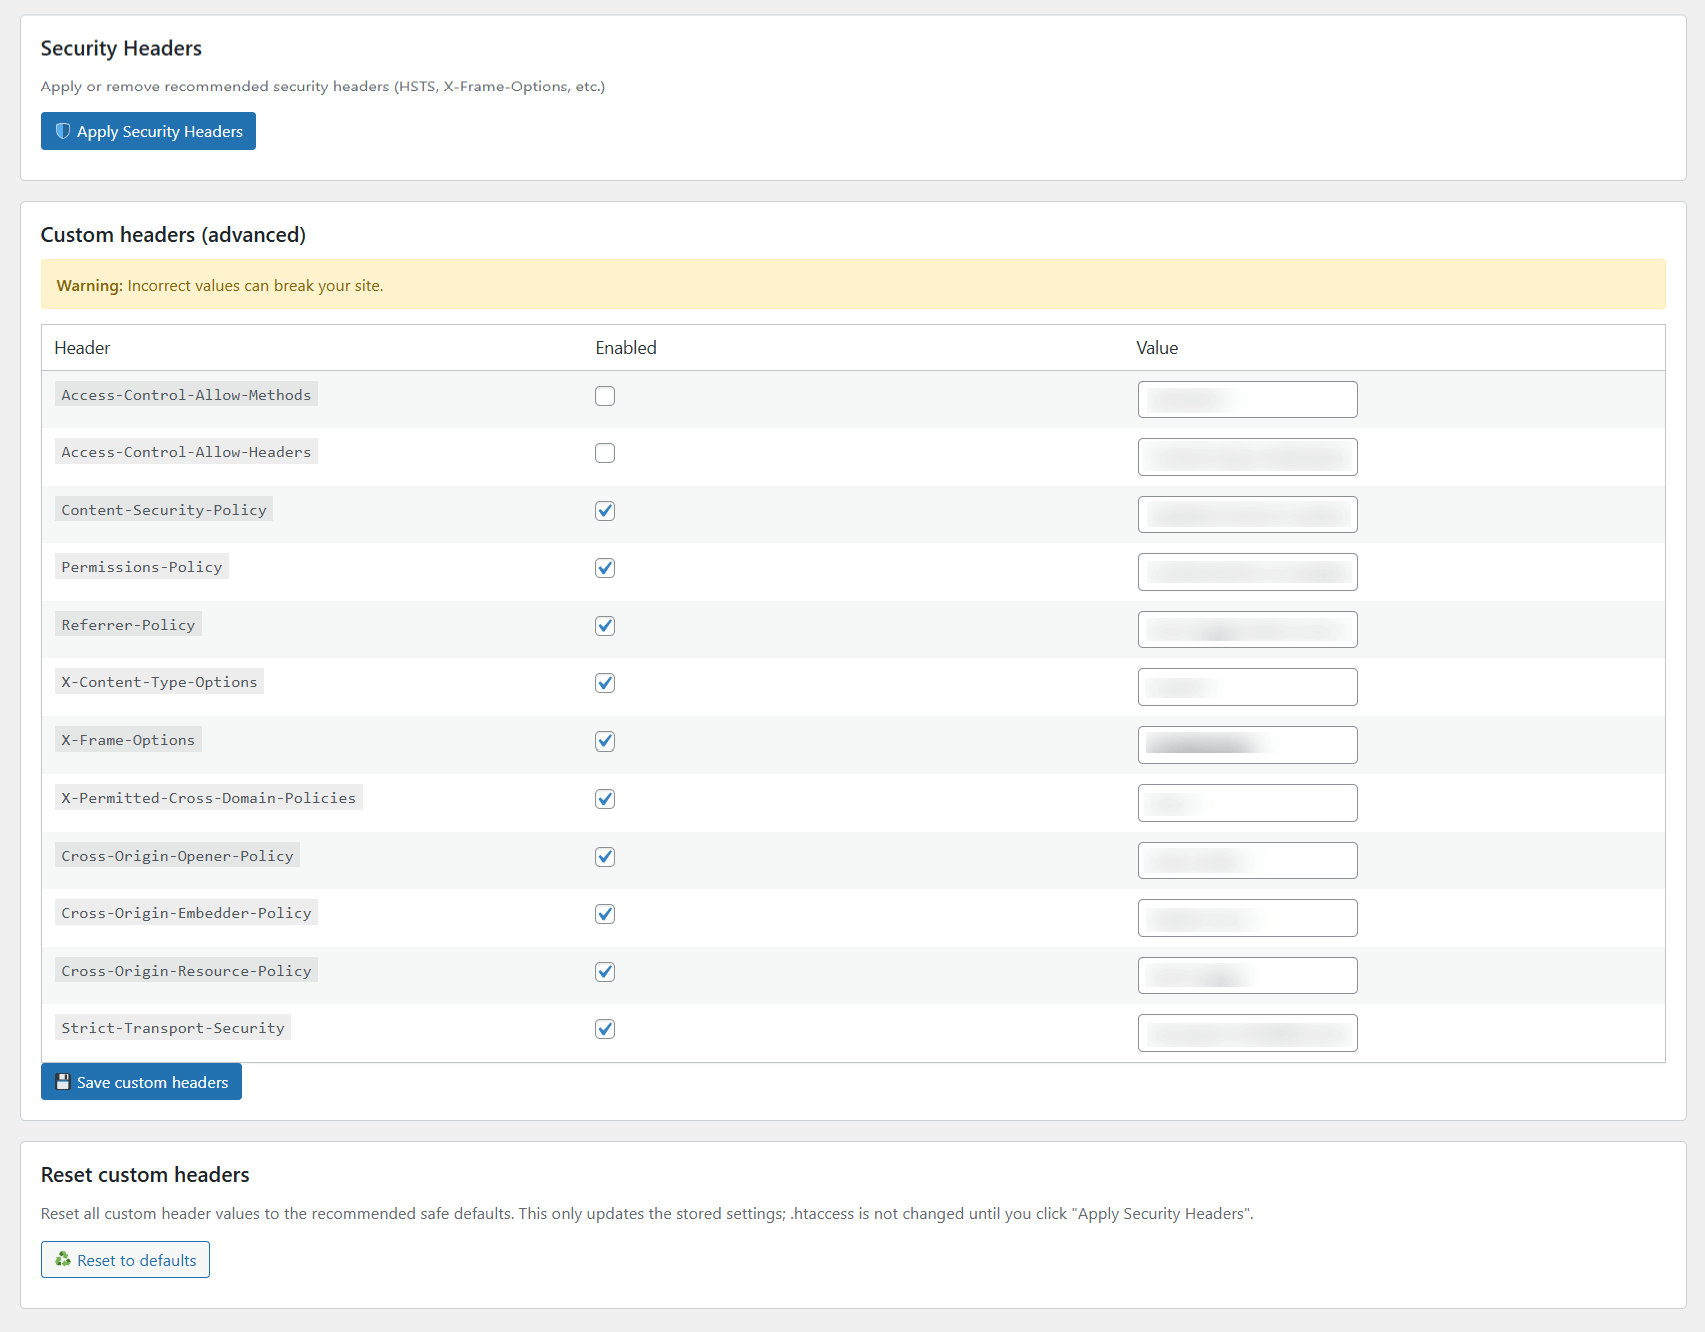
Step 4 — Enable Security Headers
Once your site is consistent on HTTPS:
- Open the Security Headers section
- Enable the recommended options
- Apply the configuration
This step ensures your site sends clear instructions to browsers about how content should be handled.
👉 For a deeper explanation, you can follow this step-by-step guide on how to add security headers in WordPress.
👉 On Apache or LiteSpeed, headers are applied directly via .htaccess. On Nginx, the plugin applies them at runtime and also provides ready-to-use snippets you can add to your server configuration for best performance.
What Changes After Setup
After completing these steps, your site becomes more consistent:
- all pages load over HTTPS
- no mixed content warnings
- resources load correctly
- browser behavior is more controlled
These improvements are mostly invisible, but they affect how your site is handled and trusted.
A Practical Example
A website may appear functional but still load some scripts over HTTP.
This can result in:
- blocked elements
- missing features
- warning messages in the browser
After applying the steps above, everything loads correctly and the warnings disappear.
Getting Started
Ready to stop fighting SSL issues?
Here’s how to start:
- Install Volixta SSL & Security Headers from the WordPress plugin directory.
- Open the new Volixta SSL & Security menu in your dashboard.
- Click Activate SSL → update your site URLs.
- Click Enable Redirect → force all traffic to HTTPS.
- Run the Mixed Content Scanner → fix what’s left.
- Apply Security Headers → lock down your site.
That’s it. No code. No broken database. No guesswork.
Final Thoughts
Managing HTTPS and browser security manually can become complex quickly.
Using a security headers plugin provides a structured and reliable way to apply these changes without touching server configuration.
Volixta SSL & Security Headers helps centralize the essential steps into a single workflow.
The goal is simple: ensure your site behaves consistently and securely across all requests.
FAQ
Do I need technical knowledge to use this plugin?
No. The interface is designed to guide you through each step without requiring manual server configuration.
Can I enable only certain features?
Yes. Each option works independently, so you can choose what to apply.
Is it safe to update URLs automatically?
Yes. The process is designed to avoid issues with stored data.
Why use a WordPress security headers plugin instead of manual setup?
Manual configuration requires editing server files and can lead to errors. A plugin simplifies the process and allows safer adjustments.