VOLIXTA introduces a flexible permission system built specifically for service-based businesses that need to define what staff and clients are allowed to do.
👥 Roles in VOLIXTA
Upon installation, VOLIXTA automatically creates three WordPress user roles for full compatibility:
- volixta_manager — Admin role with full control over the plugin.
- volixta_provider — Assigned to employees/service providers.
- volixta_customer — Assigned to clients.
Each role has its own permission system to ensure security and control over feature access.
🛠️ Permission Levels
In addition to default roles, VOLIXTA allows you to define granular Permission Levels for both providers and customers. This ensures that each user can only perform the actions they are explicitly allowed to.
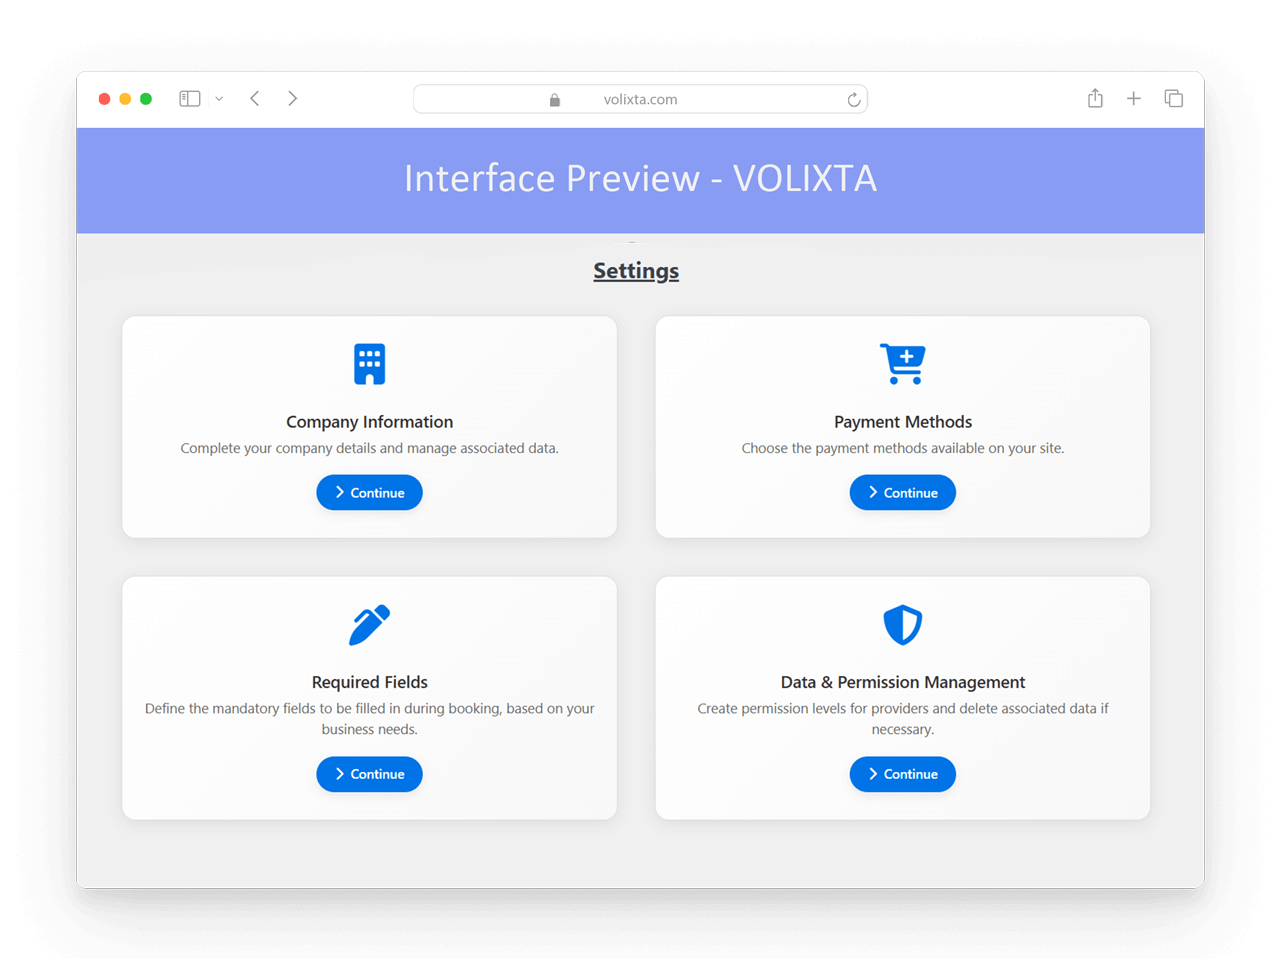
Navigate to:
Settings > Data & Permission Management
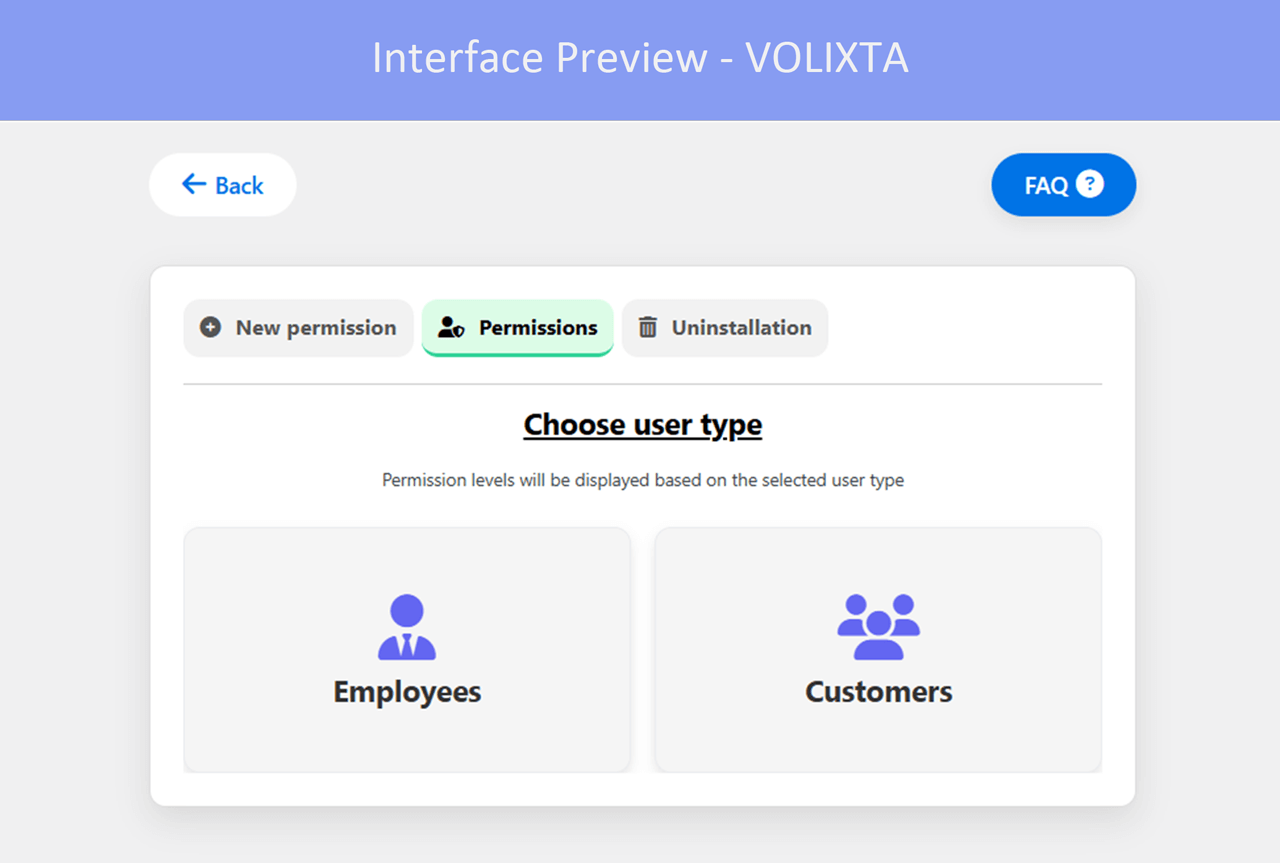
You’ll find 3 tabs:

➕ New Permission
Create a custom permission level by following a step-by-step builder.
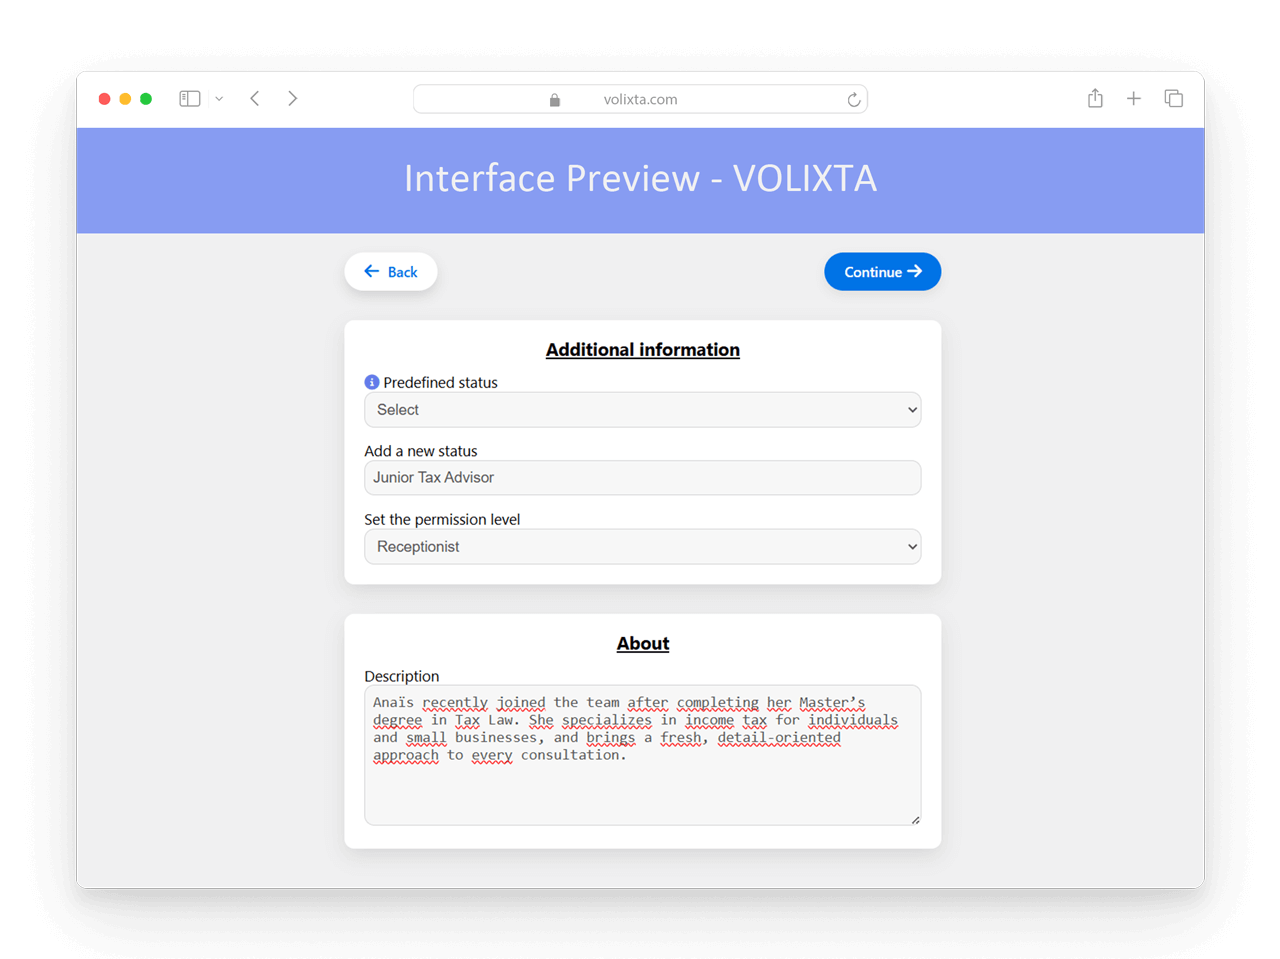
Step 1: Basic Settings
- Name of the permission level (e.g. “Junior Staff” or “VIP Client”)
- User type: Choose whether this permission is for an employee or a client
- Status: Activate immediately or save it as disabled for future use
- Priority: Define the priority order in case a user has multiple levels assigned
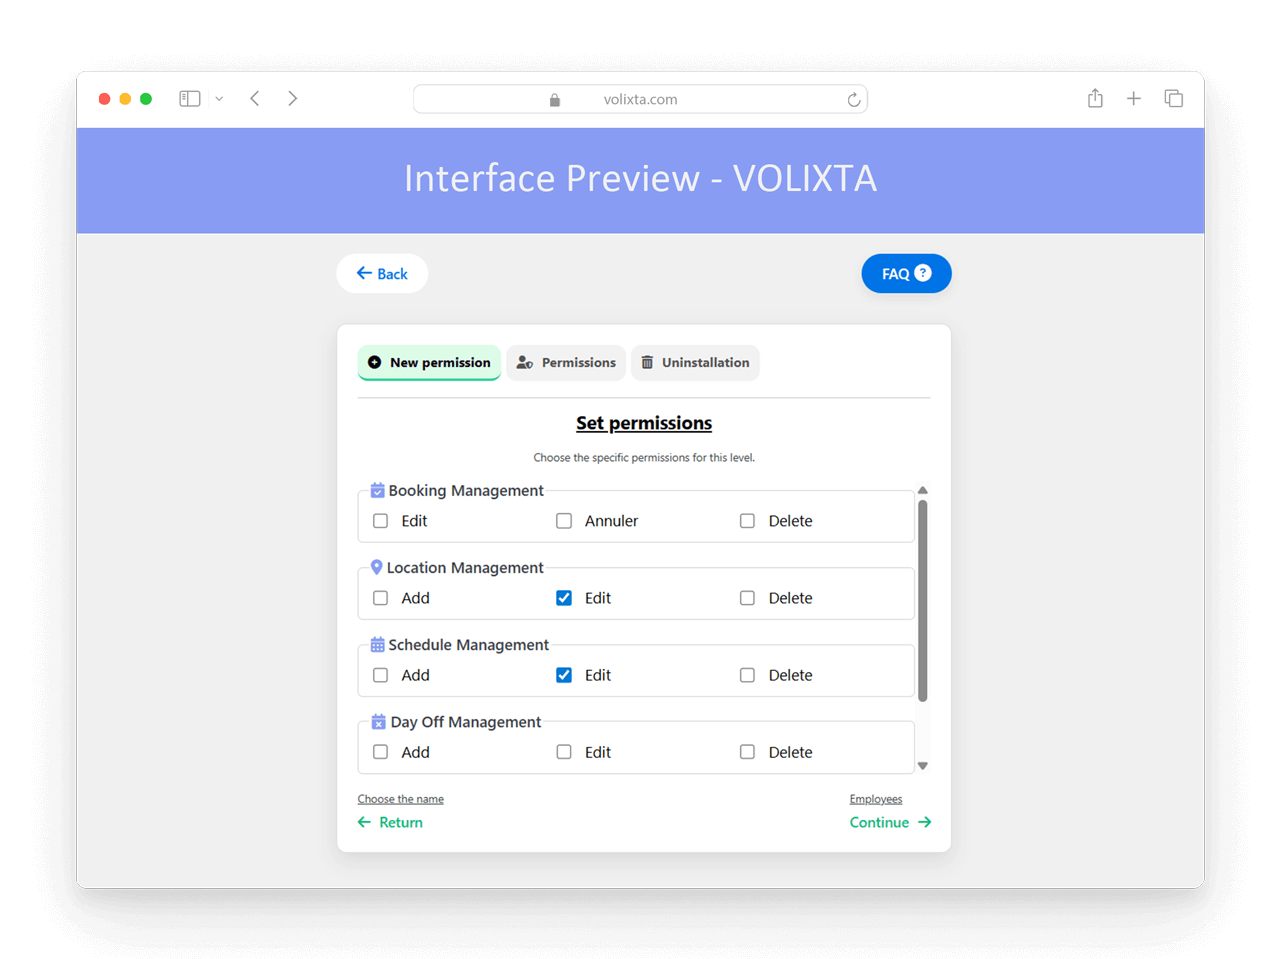
Step 2: Select Permissions
Choose which actions are allowed for users with this level. Examples:
For Employees:
- View, edit, or delete bookings
- Manage own working hours
- Create or modify locations
- Add or remove days off
- Set partial-day availability
For Clients:
- Cancel bookings
- Reschedule bookings
⚠️ if allowed within time limits
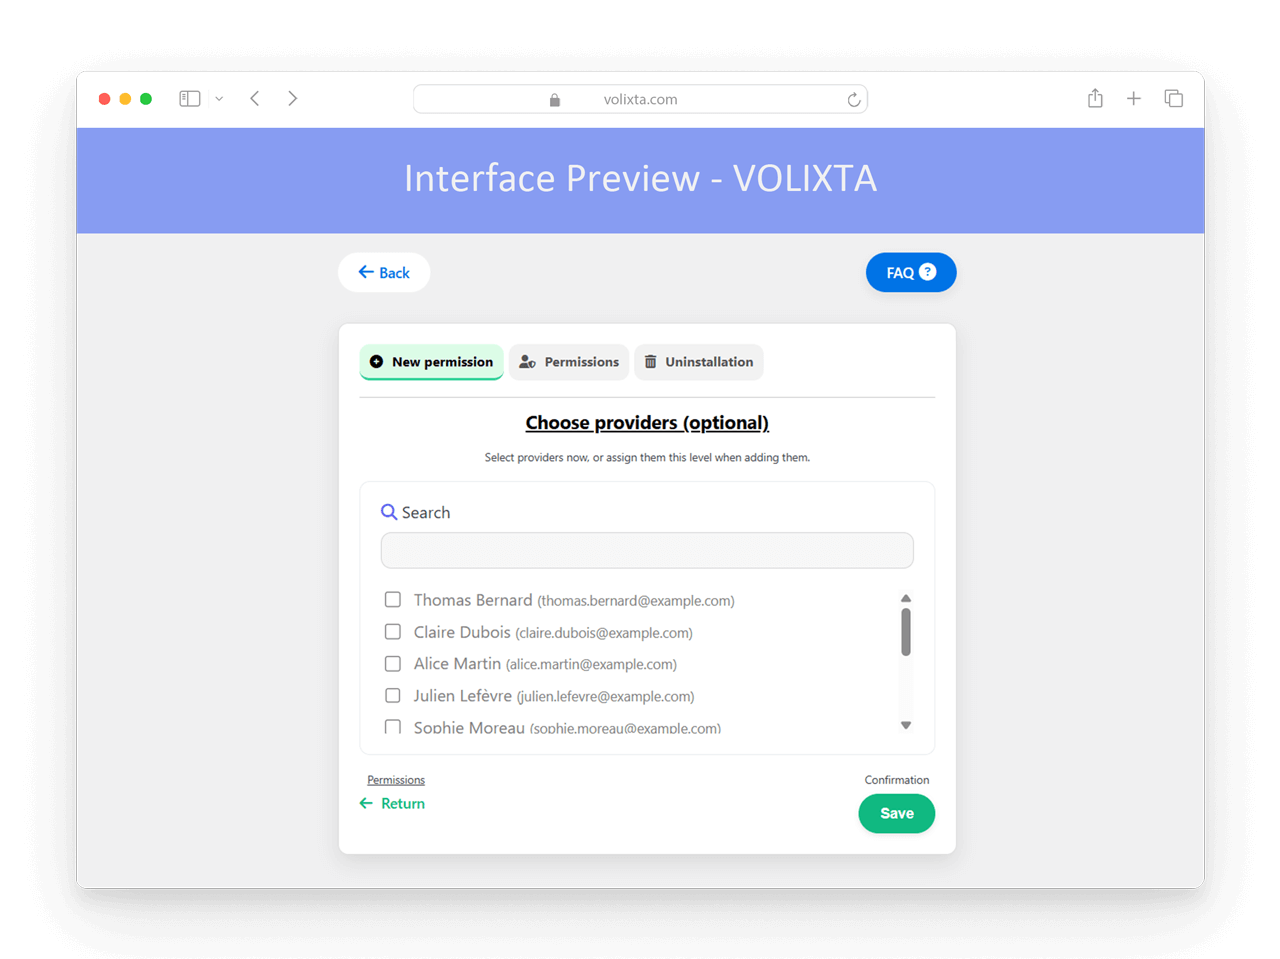
Step 3: Assign Users
Once the rules are defined, VOLIXTA displays a filtered list of existing users matching the selected user type (either employees or clients). You can then:
Select one or more users to immediately assign the new permission level
- Leave the field blank to assign it manually later during user creation or edit
- This makes it easy to roll out new permissions at scale in just one step.
📋 Permission List
This tab displays all permission levels grouped into two sections: Providers and Customers.
You can:
- Edit or deactivate existing levels
- Assign a permission level to employees or customers during user creation
Once assigned, the permission rules are enforced visually in the interface — and validated securely on the server side to prevent any unauthorized behavior or bypass attempts.
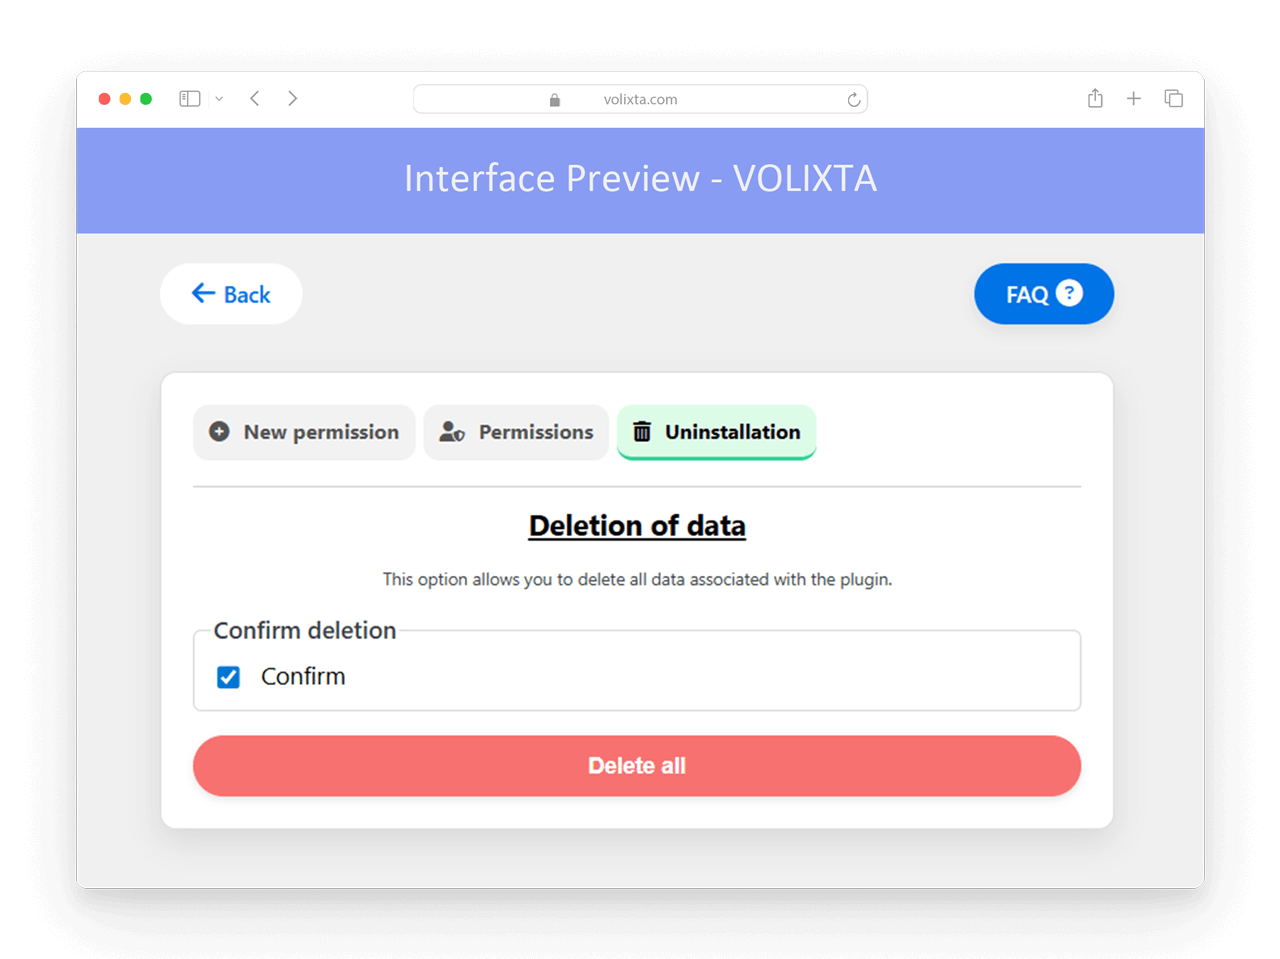
🗑️ Uninstall
If needed, you can fully uninstall VOLIXTA from this tab. It will permanently remove all plugin-related data, including custom database tables.
⚠️ Warning: This action is irreversible.
🎛️ Assigning Permissions
When creating or editing an employee or client profile, you can select one or more permission levels from a dropdown. If multiple levels are assigned, the one with the highest priority will be used.
This system gives you the flexibility to manage:
- Freelancers vs full-time staff
- Different tiers of clients (e.g. those who can reschedule freely vs those who can’t)
- Progressive access rights based on seniority or trust
🔐 Server-Side Protection
All permission logic is enforced both on the frontend and backend.
That means even if someone tries to manipulate the interface (e.g. using browser developer tools), they won’t be able to perform actions they are not authorized for.
❓ Frequently Asked Questions - Permission Levels
What are the default roles created by VOLIXTA?
VOLIXTA automatically creates three WordPress roles:
- volixta_manager (full access)
- volixta_provider (for staff/providers)
- volixta_customer (for clients)
What’s the difference between a role and a permission level?
-
Roles (e.g. manager, provider, client) define the type of user and determine their access to VOLIXTA.
-
Permission levels are custom rules that specify what actions users of a certain role are allowed to perform — such as editing bookings, managing availability, or canceling appointments.
Roles determine who the user is.
Permission levels determine what that user can do.
Where can I manage permission levels?
Go to Settings > Data & Permission Management.
From there, you can create, edit, assign, or deactivate permission levels for employees and customers.
How do I create a new permission level?
Click on the New Permission tab and follow the 3 steps:
- Define name, type (employee/client), status, and priority
- Choose allowed actions (e.g. edit bookings, manage hours)
- Assign it to one or more users immediately
Can I assign multiple permission levels to the same user?
Yes. If a user has multiple levels assigned, the one with the highest priority is applied.
What actions can be controlled for employees?
You can allow or restrict:
- Viewing, editing, or deleting bookings
- Managing their own schedule ( services, locations )
- Managing locations
- Setting days off or partial availability
What actions can be controlled for clients?
You can allow or restrict:
- Cancelling their bookings
- Rescheduling (if within allowed time limits)
Where are permission rules applied?
They’re enforced both visually in the interface and securely on the server side. This ensures users can’t bypass restrictions using browser tools or direct requests.
Can I edit or deactivate a permission level after it’s created?
Yes. Use the Permission tab to edit, disable, or reassign existing levels at any time.
What happens if I uninstall VOLIXTA?
Using the Uninstall tab will permanently delete all plugin data, including roles, permissions, and database tables.
⚠️ This action is irreversible.
💬 Need help?
Visit our Help Center or Contact Support for technical assistance.