
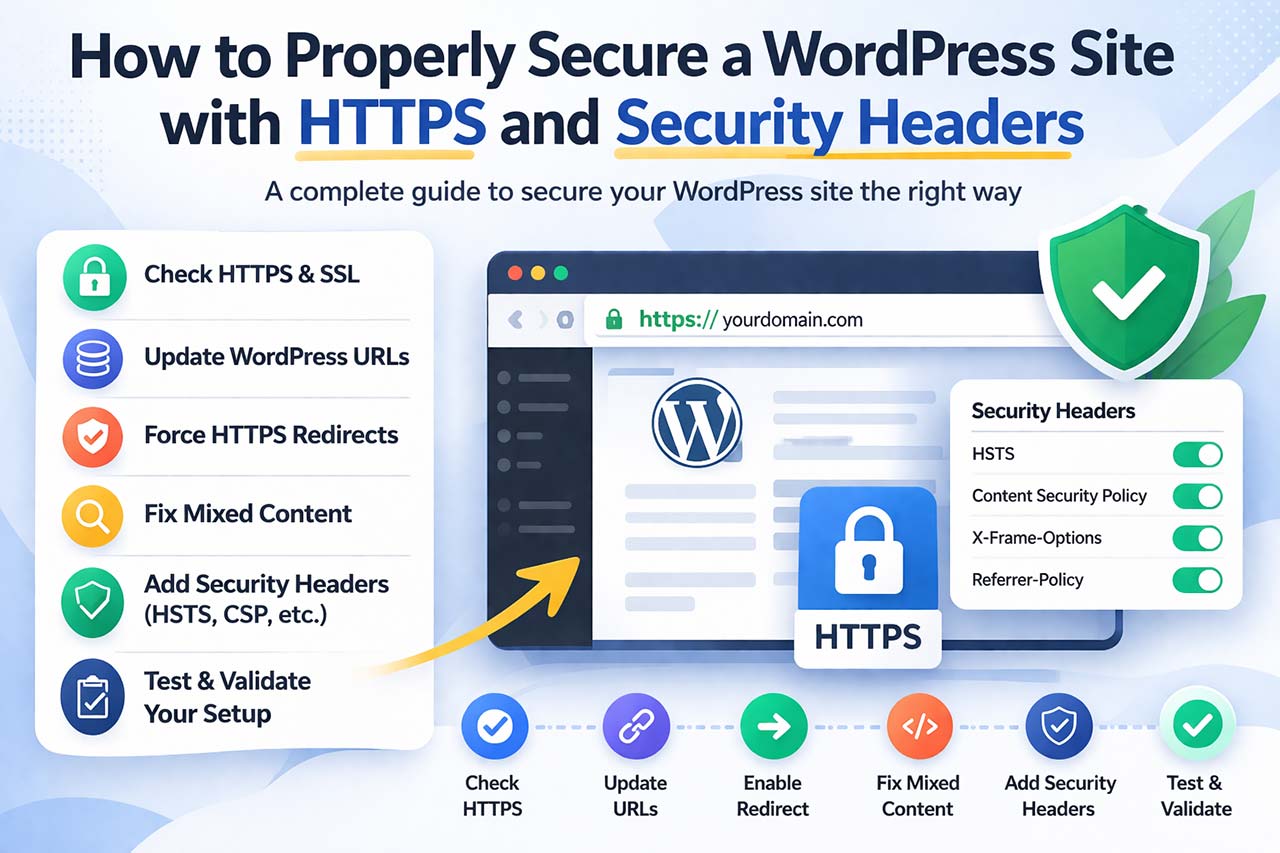
Why HTTPS Alone Is Not Enough
HTTPS encrypts the connection between your visitors and your server. That’s essential — but it does not control how content is handled in the browser.
Without additional safeguards, a site can still:
- load insecure resources
- allow unsafe scripts
- be embedded on external websites
- expose browser features unnecessarily
This is why modern setups combine HTTPS with stricter browser instructions.
Step-by-Step: Securing WordPress Properly
The following steps show how to properly secure a WordPress site, from HTTPS setup to browser-level protections.
Step 1 — Check if Your Site Is Really Using HTTPS
Even if your host says “SSL is installed,” your WordPress site may still load some resources over HTTP.
To verify:
- Open your site in Chrome
- Press F12 → Console
- Look for warnings such as:
- Mixed Content: The page was loaded over HTTPS, but requested an insecure resource
If warnings appear, your setup is not fully secure yet.
Step 2 — Update WordPress URLs
WordPress stores URLs in several places:
- database options
- posts and pages
- metadata
- widgets
Updating them manually can break serialized data.
A safer approach is to use a tool that handles these updates correctly.
Tools like Volixta SSL & Security Headers can switch your site to HTTPS without modifying data incorrectly.
👉 Example:
Open the plugin settings
Click “Activate SSL”
The plugin updates your site URLs (home and siteurl) automatically
This process is reversible and avoids database corruption.
📌 Note: This step only switches WordPress itself to HTTPS.
Any old links still stored inside your posts, widgets, or options will be handled in Step 4 (“Fix Mixed Content”).
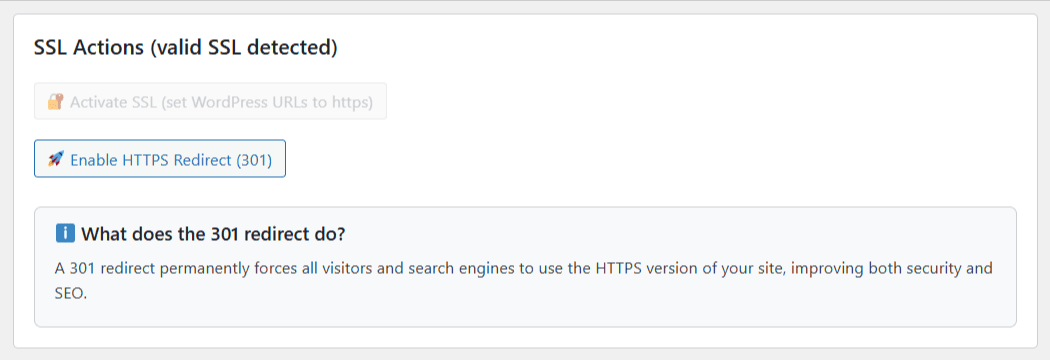
Step 3 — Force HTTPS with Redirects
Even after switching URLs, users may still access the HTTP version of your site.
To prevent that, a permanent redirect is required.
Instead of writing rules manually, you can enable redirects directly:
👉 In the plugin:
- Enable “Redirect HTTP to HTTPS”
- The correct rules are applied automatically
This ensures:
- all traffic is redirected
- search engines index the correct version
- no duplicate access paths remain
Step 4 — Fix Mixed Content
Mixed content occurs when some resources still load via HTTP.
This typically affects:
- images
- scripts
- stylesheets
These issues are not always visible but can break functionality.
👉 With Volixta SSL & Security Headers:
- Run the Mixed Content Scanner
- Review detected URLs
- Click “Fix Mixed Content”
The plugin updates links safely, including data stored in serialized formats.

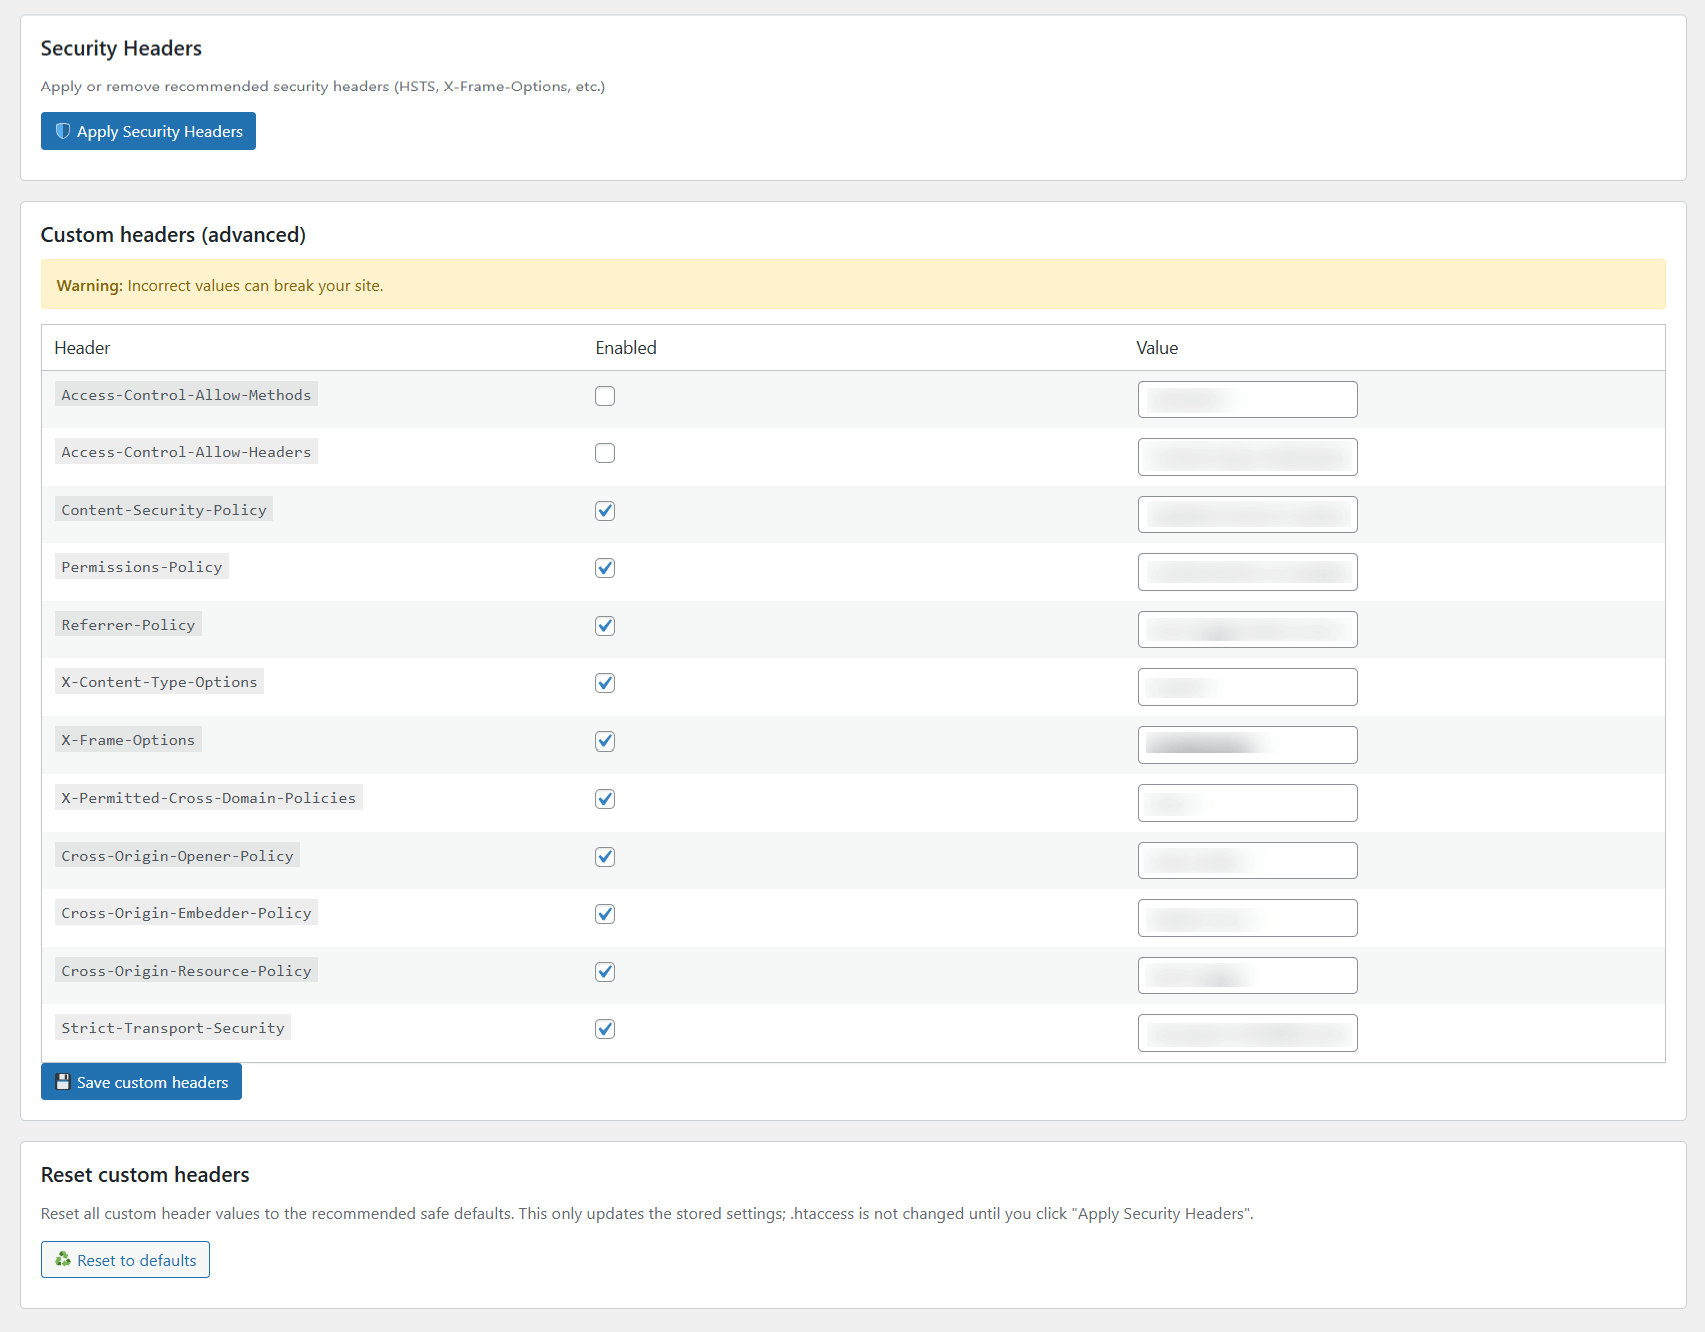
🛡️ Step 5 — Add Security Headers (Critical Step)
Once HTTPS is stable, browser-level protections can be added.
Security headers define how browsers handle your content and connections.
👉 In the plugin:
- Open the Security Headers tab
- Enable the recommended headers
- Apply the configuration
For a complete walkthrough, see this guide on how to add security headers in WordPress.
📊 Step 6 — Test Your Configuration
Once SSL and headers are applied, test your setup:
- ✅ SSL Labs Test → checks certificate strength
- ✅ SecurityHeaders.com → grades your HTTP headers
- ✅ WhyNoPadlock.com → detects mixed content
With Volixta’s default settings, you can easily hit an A+ score on these tests.
🧰 Step 7 — Bonus Tips for Security Hygiene
Security is not a one-time configuration.
To keep your site stable:
- update WordPress and plugins regularly
- remove unused components
- monitor changes after updates
- keep backups available
A clean environment reduces potential issues over time.
Common Mistakes to Avoid
Some issues appear frequently when securing WordPress sites:
- enabling redirects before fixing URLs
- leaving mixed content unresolved
- applying strict rules too early
- combining multiple methods without validation
These mistakes are easy to avoid with a structured approach.
🧩 Summary
By now, your WordPress site should:
- ✅ Load entirely via HTTPS
- ✅ Redirect all HTTP traffic automatically
- ✅ Include HSTS, CSP, and other headers
- ✅ Pass major security tests
- ✅ Show the green padlock in every browser
All without touching a single line of code.
🚀 Final Thoughts
Securing a WordPress site is not about a single setting — it’s about consistency.
HTTPS establishes a secure connection.
Security headers define how that connection is handled.
Ongoing maintenance ensures everything remains stable.
If you prefer a simplified approach, tools like Volixta SSL & Security Headers provide free features to manage HTTPS, redirects, mixed content fixes, and headers inside WordPress.
You can install it from the official WordPress plugin repository and configure everything step by step.
What matters most is not the method you choose, but making sure your site behaves securely in every situation.
FAQ
Does HTTPS make a WordPress site fully secure?
No. HTTPS encrypts traffic but does not protect against many browser-based attacks.
Can security headers break a site?
Yes, especially Content-Security-Policy if configured too strictly.
Do I need developer knowledge?
Not necessarily. Many safe tools exist, but understanding the basics helps.
How often should I check my setup?
Every few months or after major changes.